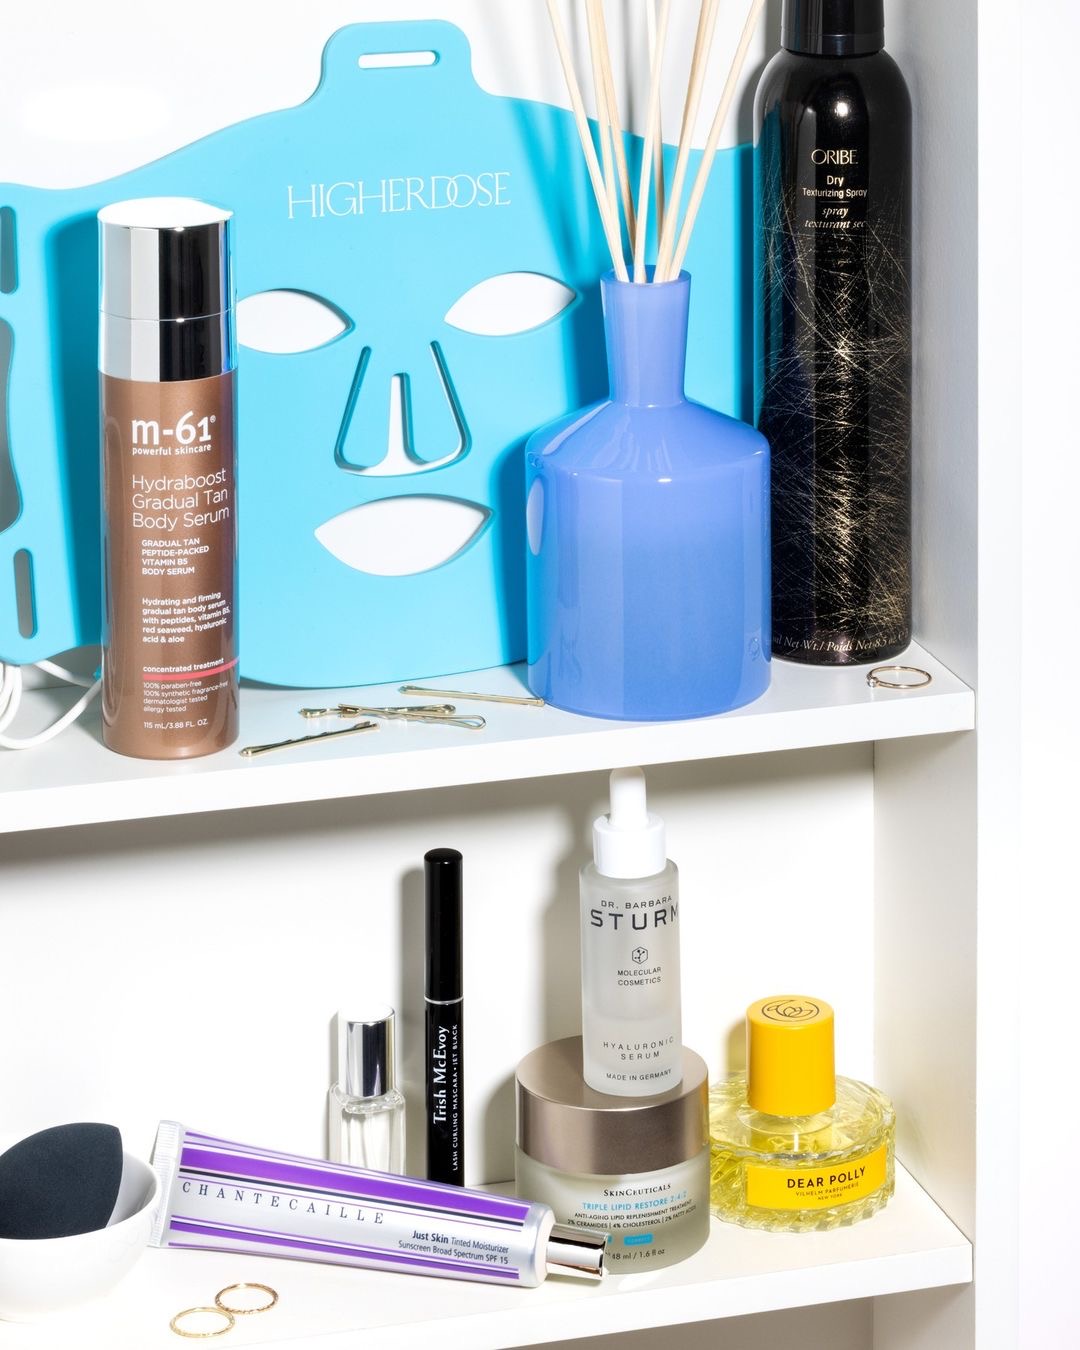
Your medicine cabinet deserves a good clean now and then, just like the rest of your house does. Chances are there are things in there that are way past their prime. Clearing out the stuff you no longer need leaves space to organize what’s left and frees up some space for other things. No more opening the medicine cabinet and having everything sliding out on top of you. It’s not the worst job in the world and you’ll be so glad you got it done. Here’s how.
Snapshot Survey
Thanks for sharing your thoughts!
Please subscribe for your personalized newsletter:
Your First Step is to Take Everything out of Your Medicine Cabinet
Before you do anything, take everything that’s in your medicine cabinet out and spread it out on your vanity or the floor. This is the best way to make sure you don’t miss anything and that you are able to sort through what’s in there so you can decide what to keep and what to toss.
Check Expiration Dates on Everything and Throw Away What’s past Its Prime
Now, look at each bottle, jar and tube that you removed from the medicine cabinet. You’re looking for an expiration or best by date. When you find it, check it against the calendar. If the date has passed, throw it away. If not, decide if you are going to use it up or not. If not, get rid of it. While you’re at it, toss anything that is empty or smells bad. Get rid of duplicates as well by combining them in one container.
Use a Disinfectant Wipe to Clean out the inside of the Cabinet
Now you want to wipe down the entire inside of the medicine cabinet to remove spilled gunk, powder or residue that’s messing up the shelves. Use disinfectant wipes or warm soapy water and go over the entire internal surface. Use a scrub brush for stubborn debris. Let the inside air dry before you put anything back in.
Clean off the Outsides of Everything You’re Keeping
Now use the wipes or warm soapy water to give the outsides of all your products a quick wipe down. This kills germs and removes any gunk that could wind up making the inside of your medicine cabinet dirty again. Let each item air dry before replacing it back in your cabinet.
Organize Your Products by Type and Allocate a Space for Each Category
Divide your remaining products by type so you can organize them in a logical way inside your medicine cabinet. For example, group your facial products together, keep prescription meds in a group and make-up should also be kept together. This way you know exactly where to look for each item without having to dig through the entire cabinet.
Related Videos about
Use Some Baskets or Bins to Keep Products Contained
If you have enough space, use small baskets or cloth bins to corral your stuff so it doesn’t get all mixed up and messy again. Label the bins if you share your medicine cabinet so that everyone knows where to replace items when they aren’t in use. If you don’t have space for this, make an effort to keep like items lined up so you can see what’s in there at just a glance.
Wash the outside of the Medicine Cabinet and You’re Done
Now that inside of your medicine cabinet is spick and span, take some time to make the outside match the inside. Wipe down the mirror and along the top and sides of your medicine cabinet so that it’s all clean and sanitary too.
That isn’t so bad, is it? Just imagine how great you’ll feel once the job is finished. Is a medicine cabinet makeover on your to-do list now?


Feedback Junction
Where Thoughts and Opinions Converge